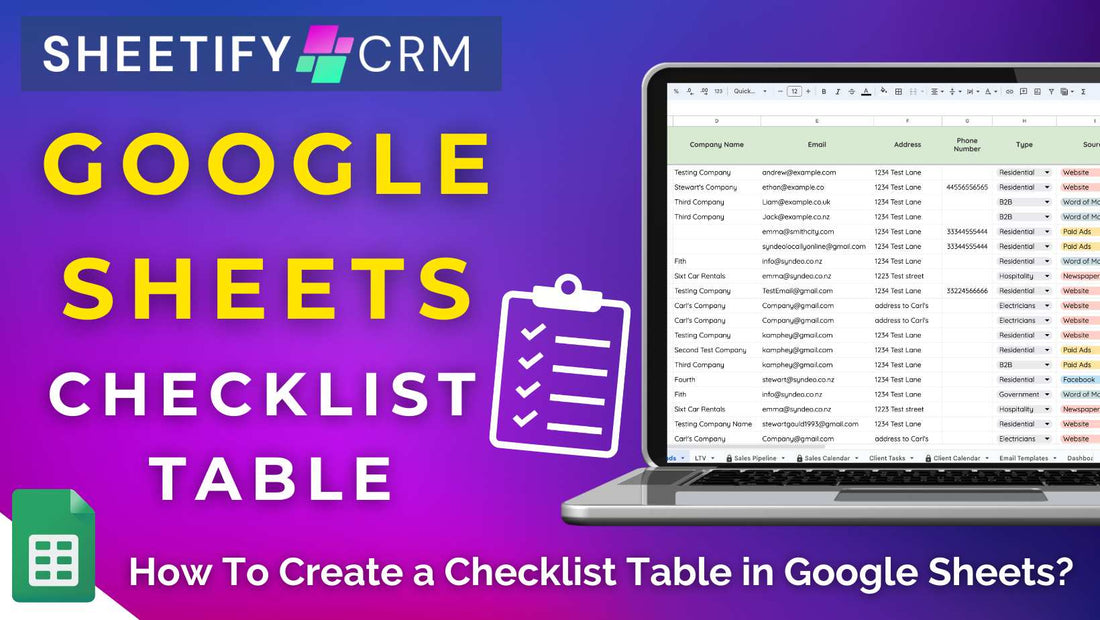
How to Create a Checklist Table in Google Sheets? (Three Simple Options)
Share
How to create a checklist table in Google Sheets?
Google Sheets is the perfect online tool for creating dynamic and customizable checklist tables.
And luckily, there are three simple ways you can build an effective checklist table in Google Sheets to monitor your crucial business activities:
- Manually construct a checklist table.
- Choose a ready-made checklist table template (or get Gemini AI to build one for you).
- Use the Sheetify CRM Google Sheets template.
No matter which option you choose, creating a checklist table in Google Sheets is a seamless process that you can easily share with your team.
A checklist table in Google Sheets is a versatile and dynamic way to track and manage tasks effectively.
So, let’s examine the three simple options above to see how you can create a checklist table in Google Sheets.
Read more about how you can create a task list in Google Sheets here
How to create a checklist table in Google Sheets? (manual)

Creating a checklist table is a simple process, thanks to the Google Sheets ‘tickbox’ function.
Here’s how you can build a checklist table yourself in Google Sheets:
- Open Google Sheets and create a new spreadsheet.
- Type headers for your checklist (‘Task,’ ‘Due date,’ ‘Assigned to,’ ‘Status,’ etc.) into the first row of the spreadsheet. Each header should be in a separate column.
- Click on the cell where you want the first checkbox to appear.
- Go to the top menu and select ‘Insert’ > ‘Tickbox’ from the drop-down menu.
- A checkbox will then appear within that cell.
- Drag the small square at the bottom-right of the cell downwards to fill all the cells below with checkboxes.
- Format your checklist table by changing the text fonts, sizes, and colors.
- Add cell borders, background colors, or text alignment options for better readability.
- Use conditional formatting (optional) to change the appearance of the cells based on whether a checkbox is checked or not.
- Adjust the column widths and row heights if required.
- Sort or filter your tasks if necessary.
- @mention your team to assign specific tasks to people.
- Include comments and attach detailed notes to tasks if needed.
By following the simple steps above, you’ll have a functioning Google Sheets checklist table up and running in under 10 minutes that you and your team can interact with!
How to create a checklist table in Google Sheets? (pre-built table)

If you don’t want to build a checklist table from the ground up in Google Sheets using the method above, you're in luck!
Google Sheets recently introduced a new feature called 'Pre-built tables,' which enables you to create a tailored and visually engaging checklist table with just a few clicks.
Here's how you can build a checklist table using the pre-built table feature in Google Sheets:
- Open a brand-new
- Look for the 'Pre-built table' sidebar to your right within the spreadsheet.
- Choose to insert a 'Blank table' or select one that fits your checklist needs.
These templates offer a seamless, ready-to-go solution and are perfect for organizing projects, events, inventory tasks, and much more.
Some of these tables may already come with checklist columns. If not, the good news is that each pre-built table is entirely customizable!
This means you can easily add a ‘checklist’ column to your checklist table. To do this:
- Click the ‘+’ icon next to the last top row on your spreadsheet.
- Select the cell where you want the first checkbox to appear.
- Click ‘Insert’ from the top menu, then ‘Tickbox’ from the drop-down menu.
- A checkbox will appear in each cell below the first checkbox you entered.
And that’s it! As explained in the first manual method, you can then change the colors, fonts, text alignment, etc.
And for those with a paid Google Workspace account, creating a checklist table in Google Sheets is even more straightforward!
This is thanks to Gemini AI, Google’s new innovative AI assistant that’s transforming how business run their operations.
To create a checklist table with Gemini AI in Google Sheets:
- Open a new Google Sheet.
- Select 'Insert' from the top menu, then 'Help me organize.'
- In the pop-up 'Create a custom template' sidebar, type a detailed description of how you want your checklist table to look.
- Be detailed when explaining headers and info within the table's columns and rows.
- Make sure you include that you want to add checkboxes!
- When you’ve finished, click 'Create.'
Based on the information you provided, Gemini AI generates a table in seconds filled with relevant tasks, headings, and placeholder data!
You can then tweak this data to suit your business and brand by adding visual elements such as colors, borders, and fonts.
And if you don’t quite like what Gemini created for you, just refine your instructions and click 'Create' once more for a revised checklist table!
It’s that easy.
Check out how to use Gemini AI inside Google Sheets here.
How to create a checklist table in Google Sheets (Sheetify CRM)

If you’re looking for a comprehensive checklist table solution for managing your sales and client tasks, contacts, leads, and more, look no further than Sheetify CRM.
Sheetify CRM is so much more than a simple checklist table.
It’s a powerful Google Sheets CRM template that helps you manage and track all customer-related business activities.
Essentially, Sheetify CRM is one huge checklist table organized neatly into different sheets so you can manage your entire business operations with ease.
And the best part is that Sheetify CRM comes with pre-set data validation rules, conditional formatting, and Apps Scripts, so you don’t need to do any manual setup yourself!
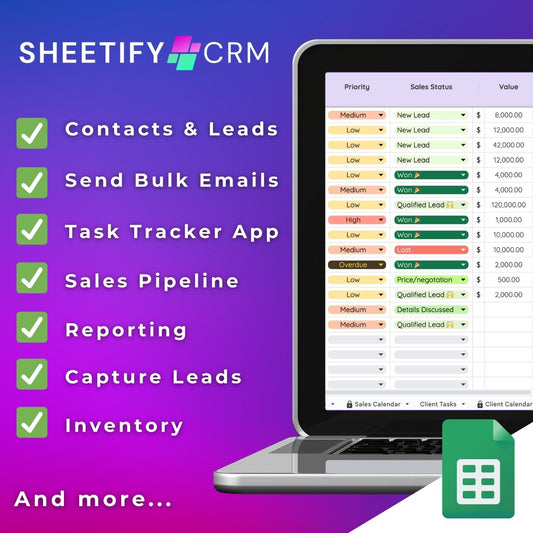
Within the ‘Contact & Leads’ sheet, simply add your customers’ details, due dates, priority level, sales pipeline status, and notes.
Additionally, you can check whether you’ve already sent your customer an invoice (and whether it has been paid) and add specific details and notes regarding your customers.
Plus, Sheetify CRM’s pre-built checklist tables let you tick off your sales and client tasks directly within Google Sheets!
Tasks related to sales are managed within the 'Contacts & Leads' sheet, whereas client-related tasks are found in the 'Client Task' sheet.
For every task you want to add, simply:
- Include details like the task's name and description.
- Link it to a relevant contact.
- Set its priority and deadline.
- Assign it to specific members of your team and more.
Client tasks can be marked as completed by selecting the ‘Completed’ drop-down option within the ‘Status’ column.
Sales tasks can be completed by changing the sales pipeline status within the ‘Contacts & Leads’ sheet.
And guess what? Thanks to Sheetify CRM’S built-in Apps Script, you can sync your customer-related tasks with Google Tasks!
This allows you to quickly tick off your tasks on the go within Google Tasks or Google Sheets.
For more information on how to manage your sales and client tasks with Sheetify CRM, watch this detailed video tutorial.
What is Sheetify CRM?

Designed for Google Sheets users, Sheetify CRM is an all-in-one business toolkit that offers you all the tools and features you need to run your small business efficiently.
Through Sheetify CRM, you can streamline and manage your tasks, contacts, sales, leads, customer service issues, transactions, and inventory—all within Google Sheets!
Plus, you can engage in email marketing activities, create invoices, communicate with your clients directly, and log customer interactions from one simple spreadsheet.
Sheetify CRM also has a performance dashboard feature that showcases your best-selling items, monthly sales, team performance, and more.
What’s more, you can email your dashboard as a PDF report directly to yourself or your team through Google Sheets!
Sheetify CRM is essentially the quintessential tool for small business owners searching for various CRM and marketing functionalities within Google Sheets!
For a one-off payment of $67, you and your team can access all of Sheetify CRM's current and future features and updates.
This one-time investment CRM solution offers immense value to small and micro businesses that want to centralize and streamline their customer activities in one Google Sheet.
If you want to optimize your business's operations, I highly recommend trying Sheetify CRM. I promise you won’t regret it!
Discover more about this versatile Google CRM template here.


