How To Generate Quotes With Sheetify Google Sheets Bookkeeping? (2025)
Share
How to generate quotes with Sheetify Google Sheets Bookkeeping?
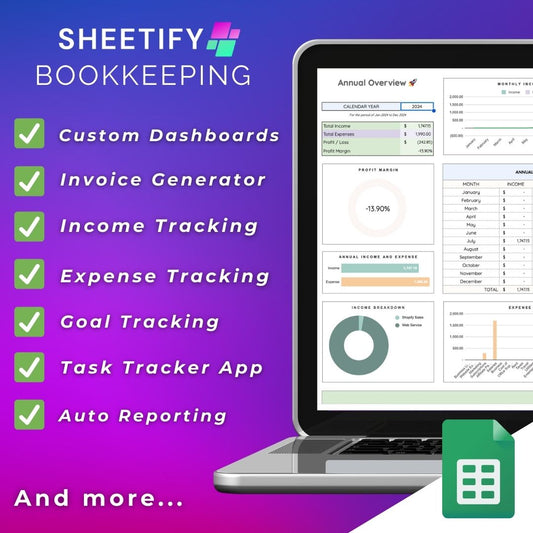
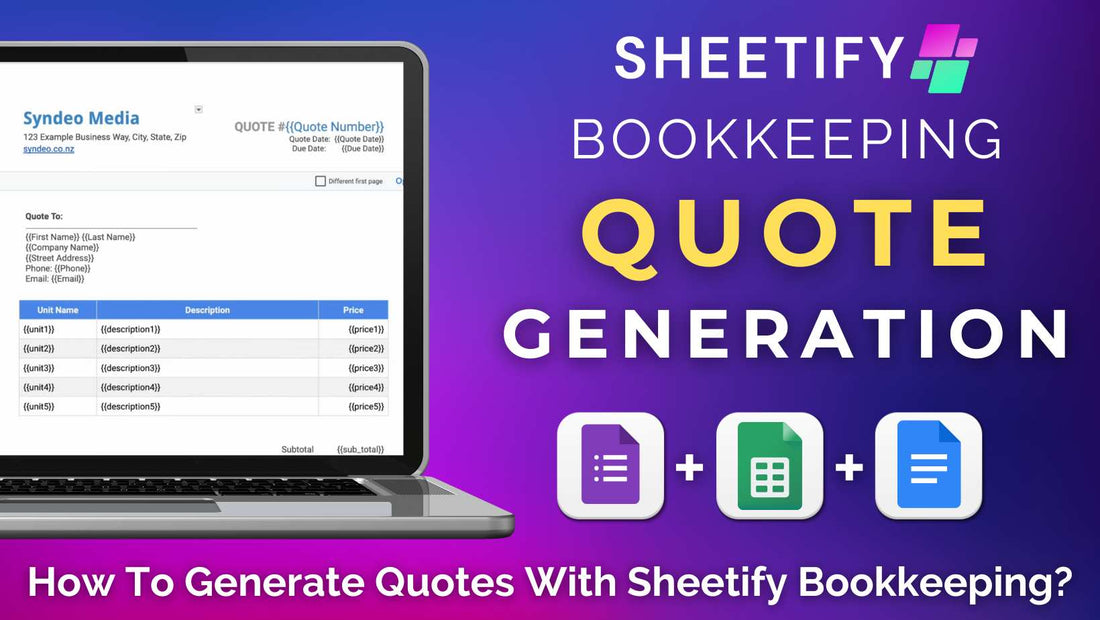
With Sheetify Bookkeeping, you can easily create and send quotes to your customers directly from the Sheetify Bookkeeping interface with the built-in quote generator.
To generate quotes with Sheetify Google Sheets Bookkeeping, you must first set up and customize the built-in quote generator. To do that:
- Download and purchase Sheetify Bookkeeping.
- Select the ‘Setup’ tab within your Google Sheets bookkeeping template.
- Ensure you have selected the correct currency under ‘Currency.’
- Click ‘Sheetify > Setup Quoting > Setup Sheetify Quoting’ from the top menu.
- Head back into the Google Drive folder you were given when you purchased Sheetify.
- Select the ‘Sheetify Quote Template’
- Select the three dots on this document and click ‘Make a copy.’
- Open the newly copied document and customize it with your business name and address in the header.
- Under ‘Other details,’ add your quote details.
- Under ‘Terms and conditions’, add your specific business terms and conditions.
- Scroll up to the top of the page and copy the piece of URL code (as shown in the image below)
- Head back to your bookkeeping template.
- Within the ‘Setup’ tab, scroll across and find ‘Quote Settings’.
- Paste the URL code you just copied under ‘Quote Template ID.’

And that is how you can set up the built-in quote generator.
Watch this quick guide for more information on how to set up Sheetify Bookkeeping.
Now, follow the steps below to start generating quotes:
- Select ‘Quote Form Link’ under ‘Quote Settings’ to open a Google Form quote link.
- Add the specific quote number, date, due date, your client’s name and company, email address, and other personal details.
- Add other details such as discounts, unit name, price,
- Select ‘Submit’.
- You can view all form responses (quotes sent) under the ‘Form Responses’ tab inside your Sheetify bookkeeping template.
- You can then find your generated quotes within a Google Drive folder named ‘Sheetify Quotes’ linked under ‘Quote settings > Quote folder URL’ (within the ‘Setup’ tab).
- Simply download the quote as a PDF or share it as a shareable link with your client.
Click here to watch a detailed step-by-step process of how to generate quotes with Sheetify.
Why generate quotes with Sheetify Google Sheets Bookkeeping?
Using Sheetify and Google Sheets for bookkeeping to generate quotes offers several advantages.
Firstly, if you already use Sheetify Bookkeeping to track and manage your income, expenses, and bookkeeping tasks, why add another quote creation tool to the mix?
Sheetify Bookkeeping automatically creates and securely saves your customer data and quotes within Google Workspace, streamlining your data management processes.
The bookkeeping template uses familiar Google products (Google Forms, Google Sheets, and Google Docs) to build personalized quotes that you can then send to your customers.
And thanks to Sheetify Bookkeeping’s built-in Apps Script, you don’t have to transfer any data manually because Sheetify does it for you!
This makes generating quotes with Sheetify a practical, efficient choice for businesses looking to optimize their workflows and streamline processes.
Sheetify Bookkeeping invoice generator

Did you know you can create stunning invoices within Sheetify Bookkeeping, too?
Like the built-in quote generator, you can build personalized invoices to send to your clients using Google Forms, Google Docs, and Google Sheets through the invoice generator.
This simple process is very similar to the above steps (thanks to the built-in Apps Script!) with just a few differences.
You can check the step-by-step process here to learn more.
Plus, to find out more about everything Sheetify Google Sheets Bookkeeping software can do, check out this video guide.

