Can You Track Issues In Google? (Paid and Free Options)
Share
Can you use Google to track issues and customer tickets?
Yes! As long as you have a Google Workspace account, you can use Google to track issues and customer tickets within your business.
Although there’s no dedicated ‘Issue Tracker’ Google App, there are three main ways you can effectively track issues within Google Workspace:
- Using Google Forms and Google Sheets.
- Creating a shared Gmail inbox.
- Leveraging Sheetify CRM.
How To Track Issues In Google? Three Methods
1. Google Forms and Google Sheets

This method involves creating a simple yet effective Google Form that collects and organizes customer issues or inquiries.
You can then connect that data to a Google Sheets spreadsheet and organize it into a manageable customer ticket system.
Here is a step-by-step guide on how to use Google Forms for tracking issues:
- Go to Google Forms and create a new form (or choose a template to edit).
- Design your form by adding fields and questions to collect necessary information such as ‘Customer Name,’ ‘Email,’ ‘Issue Category,’ ‘ Issue Description,’ ‘Priority level,’ etc.
- You can use dropdowns, checkboxes, multiple-choice questions, long or short-paragraph answers, and more.
- Change the theme of your form and edit your response and general settings.
- Make sure you enable the option to collect respondents' emails.
- Customize the confirmation message to assure customers you’ll attend to their ticket shortly.
Once you’re happy with how your Google Form looks and reads, you’ll need to integrate it with Google Sheets to start tracking these customer inquiries.
To do this:
- Click the ‘Response’ tab in your Google Forms.
- Select ‘Link to Sheets,’ then select whether you want to link form data to an existing or new Google Sheet.
This will automatically send new form responses to your choice of Google Sheets spreadsheet in real-time.
- Once responses begin to populate in Google Sheets, use different columns to add statuses like 'Pending,' 'In Progress,' or 'Resolved'.
- Apply conditional formatting to distinguish and visualize the status of each ticket easily.
- Use filters to view tickets by priority, category, date, urgency, etc.
- Share your form and spreadsheet with your team.
- Set up email notifications for new submissions or significant changes on the Sheets.
- When the issue has been resolved, follow up with customers via email.
And that is it! By following these steps, you can create a robust ticketing system using Google Forms and Google Sheets.
2. Shared Gmail Inbox

This method is typically used by small teams looking to manage and track their issues through a shared Gmail inbox.
Here’s how you can set it up and manage it effectively:
- Create a Gmail account inside Google Workspace specifically for customer issues and inquiries (this will be used to receive and manage all incoming customer communications).
- Share access to this account with team members handling these communications.
- Use Labels and Filters like ‘Urgent,’ ‘Pending,’ ' In Progress,’ and ‘Resolved’ to organize emails.
- Set up a Google Group for your support email (this will also allow team members to receive the customer issue email within their personal inboxes).
- Assign emails to specific team members.
- Make sure you keep all relevant communication about each issue within the same email thread so it's easier to track.
- Create tasks and reminders within Gmail to quickly follow up on issues.
- Once you’ve resolved the issue, don’t forget to send a confirmation email to the customer to let them know.
And that’s how you can track issues within your Gmail inbox.
Read more about which CRM is compatible with Gmail here.
3. Sheetify CRM

Managing customer inquiries and issues through the above two methods is relatively straightforward and effective.
But what if I told you there was a comprehensive Google CRM tool that streamlines this process even further?
Enter…..Sheetify CRM.
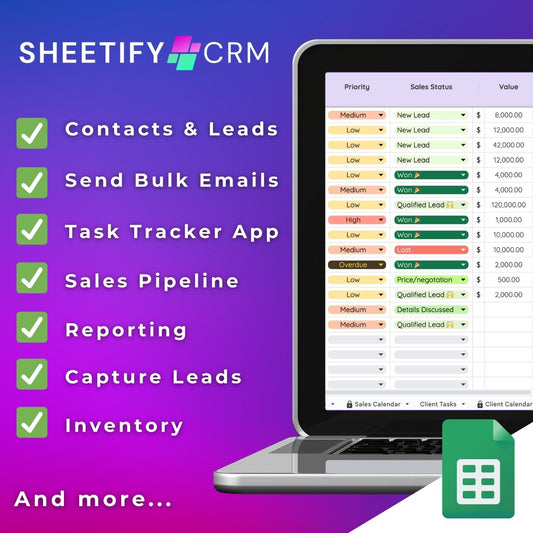
Sheetify CRM is a Google Sheets template that functions as a complete business toolkit, providing every single feature needed to effortlessly track all customer-related activities.
So, how can you track issues in Sheetify CRM?
Sheetify CRM’s built-in ‘Ticket/Issues’ sheet has pre-populated columns and rows.
This means you don’t have to worry about conditional formatting, data validation rules, or complicated formulas.
All you need to do is simply enter your corresponding ticket details! It’s that simple.
You can also track the number of tickets resolved by each team member and gain insights into the frequency of issues per customer.
This is all thanks to Sheetify’s built-in dashboard tool that directly connects with the ‘Ticket/Issues’ tab.
Managing and resolving customer issues with Sheetify is easy, efficient, and streamlined, enabling you to focus on growing your business.
Not to mention, Sheetify CRM is so much more than a simple ticketing system.
Have you heard about all the other awesome features that Sheetify brings to the table?
This dynamic Google Sheets template leverages the power and flexibility of Google Sheets to manage your contacts, leads, deals, emails, inventory, invoices, and more.
Find out more about Sheetify's entire feature set here.
How to use Google issue tracker template (Sheetify CRM)
To use Sheetify to track your issues and customer tickets, ensure you're logged into your free or paid Google Workspace account.
When you’ve done that:
- Navigate to Sheetifycrm.com, then select 'I want this!'
- Hit 'Add to Cart' and purchase the Google Sheets CRM template.
- Click the 'Get Template' PDF (this will direct you to the Google Sheets template).
- Duplicate the template so you have your own version.
- In your own version, choose 'Sheetify' from the menu, then 'Set Up Sheetify' > ‘Set Authorization.’
- In the ‘Settings’ tab, edit the placeholder text and adapt the template to your liking.
And that’s how easy it is to set up Sheetify CRM.
Once you’ve set up the Google CRM template, you can add, view, and track your customer issues.
To do this:
- Go to the 'Tickets/Issues' tab at the bottom of your Sheetify CRM template.
- Enter the details for your first ticket (such as 'Ticket name,' 'Account name,' and 'Contact name’).
- From the dropdown menus that match your tickets, select the appropriate 'Ticket Status,' 'Source,' 'Priority,' and 'Assignee.'
- Select 'Date Created' or 'Ticket Status Change' and add any other relevant notes related to the ticket in the 'Notes'
These headers are completely customizable, so take the time to add, edit, and delete these headers as you wish.
Plus, you can add a Google Form to your website so users can submit their own tickets.
As shown in the first method, you can link Google Form submission with a new spreadsheet and then copy and paste those tickets onto your Sheetify CRM Tickets/Issues tab.
The catch is that you’ll need to monitor this new ticket-tracking spreadsheet to ensure that you resolve issues and tickets quickly.
As you can see, Google products such as Google Forms, Google Sheets, Gmail, and Sheetify CRM can be used to streamline the ticket-tracking process.
By using Google to track your issues and tickets, you’ll comprehensively organize and view your tickets (and their statuses) without needing specialized software.
Thanks for reading!


